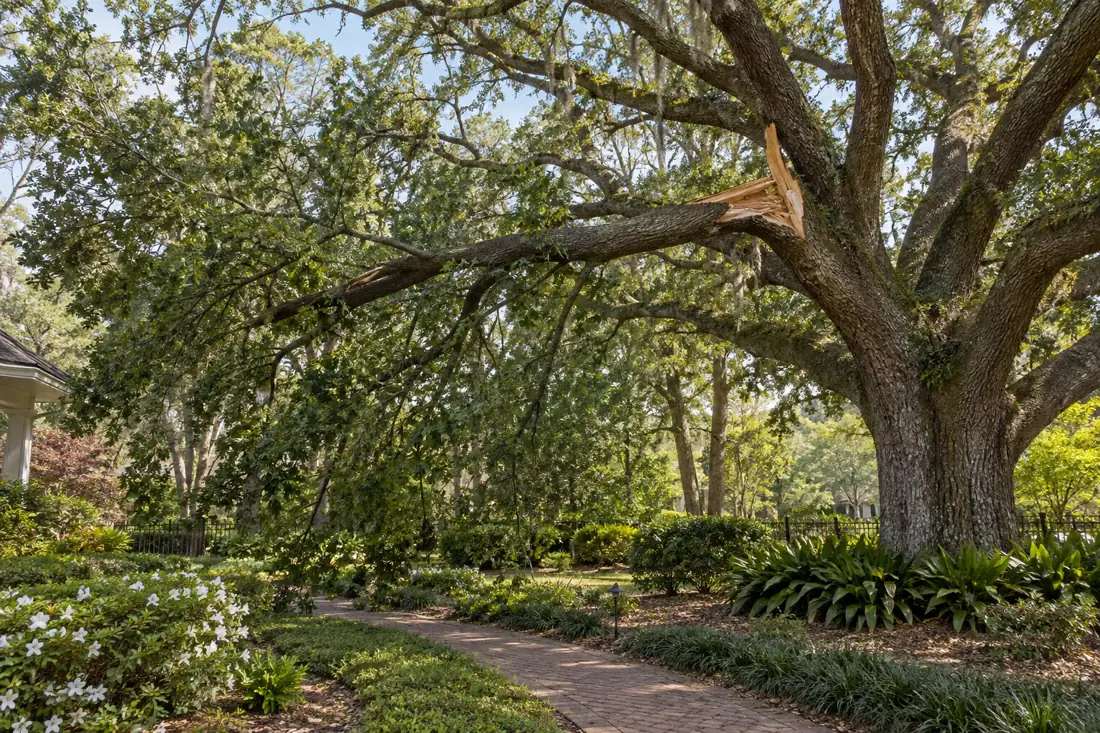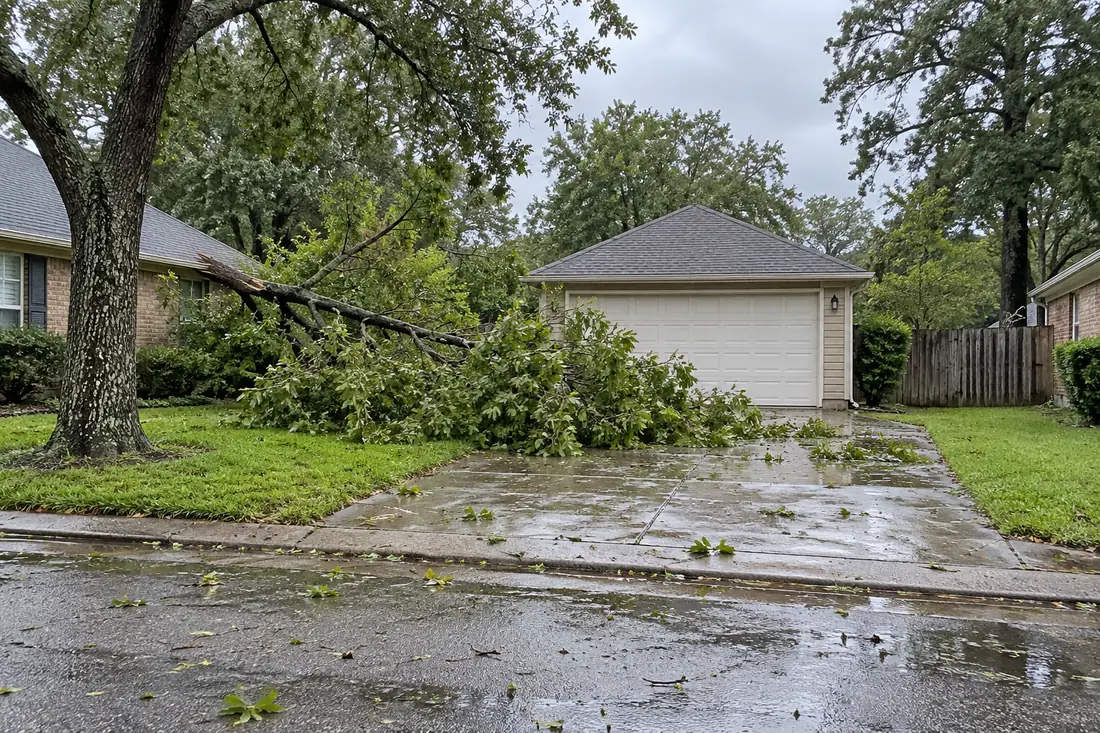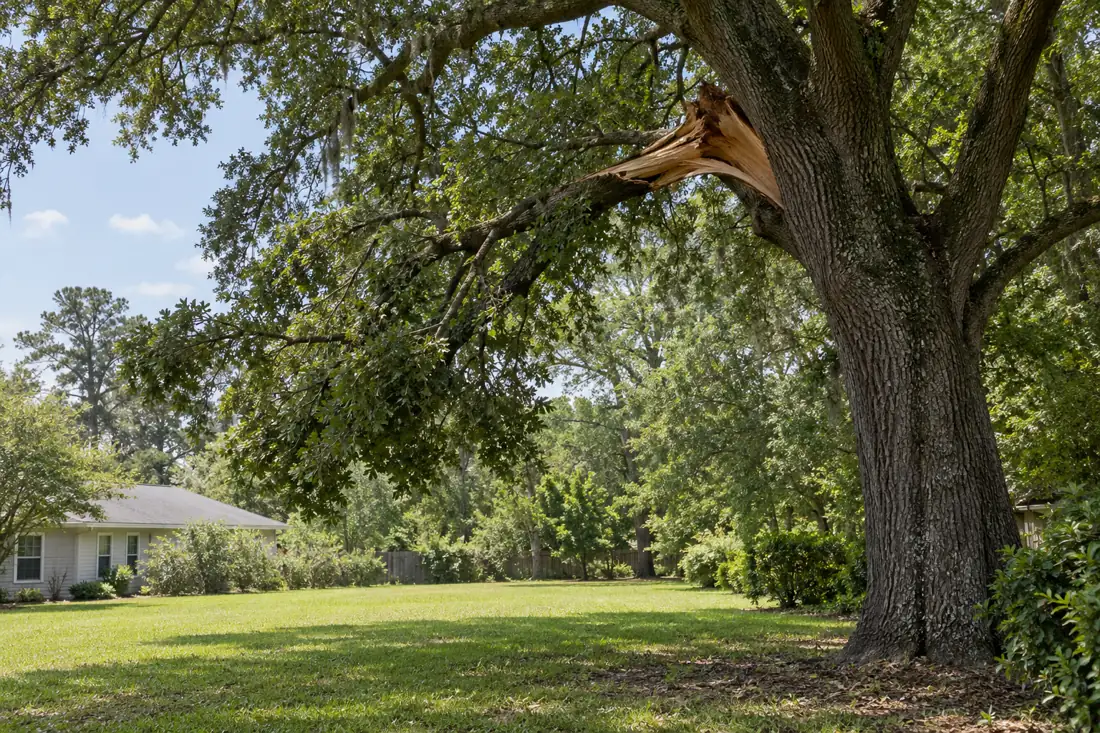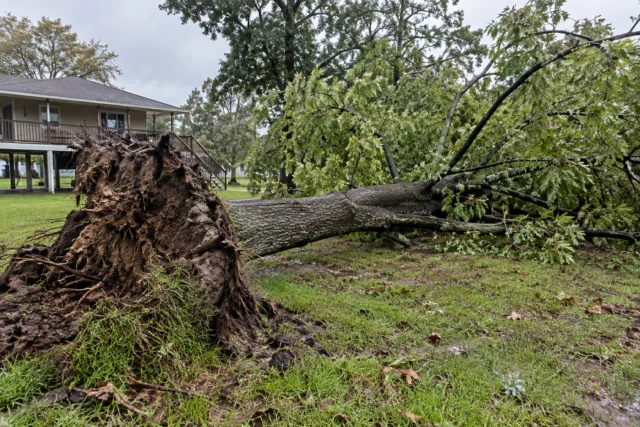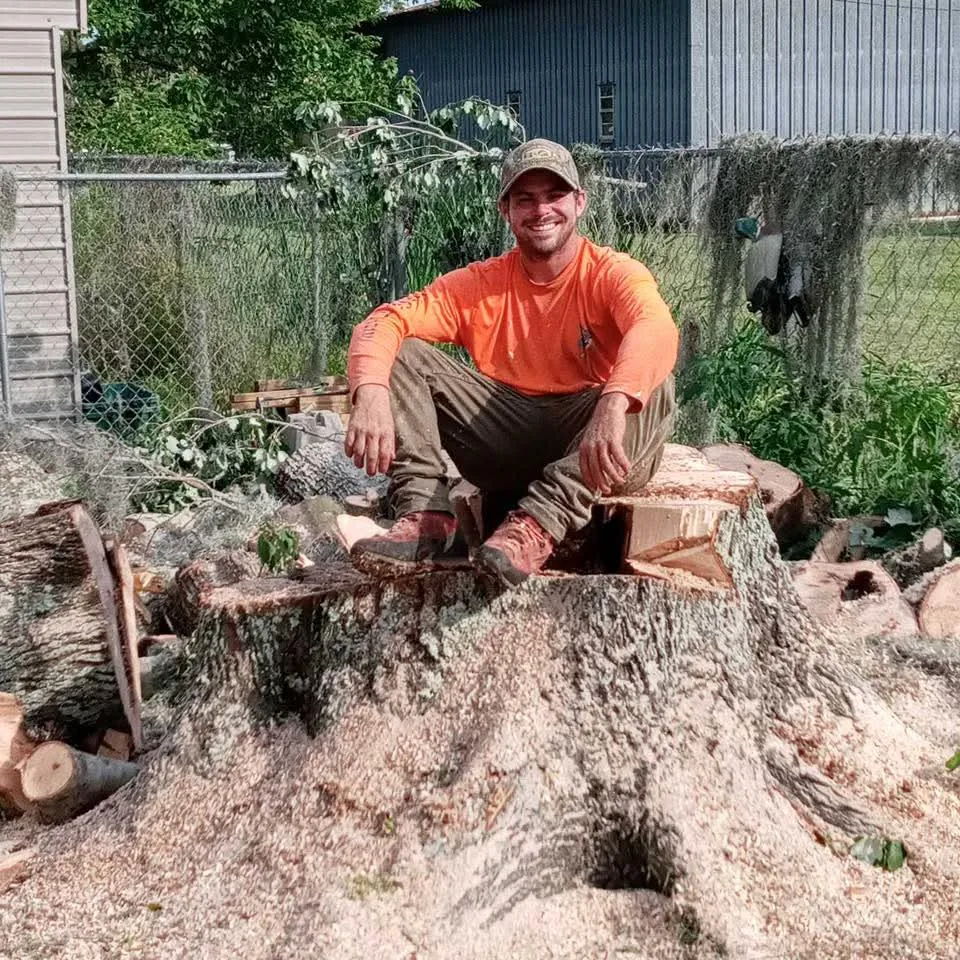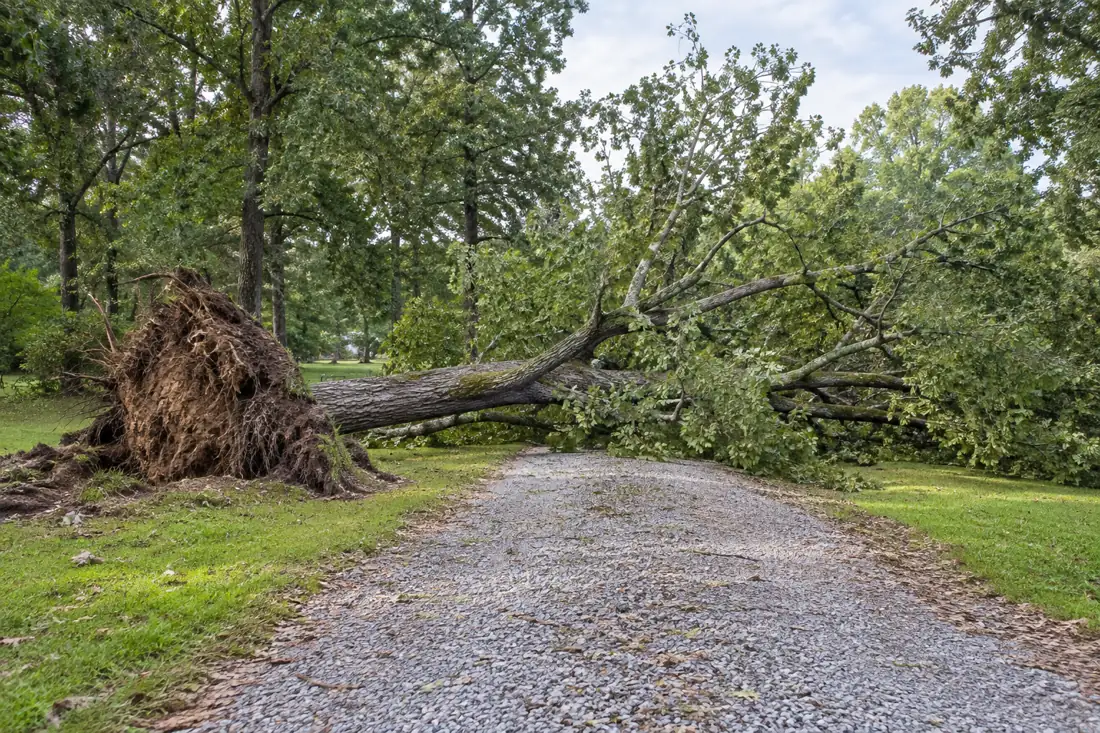
Useful photos show the overall tree, what it is touching, the trunk base and the access route. They should be taken only from a safe position. Include the address and a short description of the event and visible change. Do not climb onto a roof, cross downed lines or stand under broken branches to document the damage.
Storm-damage photographs require a different safety boundary
After a storm, the scene may include suspended limbs, unstable trunks, wires, roof damage or standing water. Do not attempt to collect the same close-up angles that might be routine at a stable tree. A useful first image can be a wide view from a building, public area or other safe position, paired with a description of what is blocked or being contacted. If reaching the area is unsafe, skip the photograph entirely.
For a stable, nonemergency job, the general four-view estimate-photo guide helps organize the whole tree, concern, surroundings and access. Here the priority is communicating an observed storm condition without moving closer to an uncertain hazard or representing pictures as proof of stability.
Storm photos that support a useful estimate
Take a safe wide photo showing the tree and nearest roof, road or fence, followed by another angle of where the wood rests. Do not step beneath hung limbs or near conductors for a close-up.
Describe whether wood is on the ground, suspended, resting on a building or tangled with services. Note access width, gates, parked vehicles and soft ground. Photos cannot confirm internal stability or a safe removal method.
Send a concise address, callback preference and tree ID where more than one tree is involved. Compare the estimate with the requested stabilization, branch removal, dismantling, hauling and stump work so no key task is silently assumed.
Begin with a wide view from a safe public or private access point showing the entire tree, the direction of lean, buildings, fences and any blocked entrance. Then add closer views only if the area can be reached without passing under damaged branches or approaching wires.
A photo of the trunk alone cannot show the entire risk or the equipment access. Include the approximate time of the storm, whether conditions are still changing, and any visible movement or lifted ground. Never climb, tug a hanging limb or enter a restricted area just to get a better picture.
For an estimate, say what needs to remain accessible, such as a driveway, pedestrian entrance or emergency route, and whether debris is already on the ground. Photograph the staging area and gates where safe. Disclose nearby utility conductors without trying to judge whether they are energized; the utility owner must address electrical hazards. Photos help triage and prepare questions, but they do not replace an on-site assessment of tree stability, rigging needs, ownership or safe work methods.
After-Storm Tree Photos for an Estimate: Start With a Safe View
A useful estimate photo set begins with a decision about where not to go. In southeast Louisiana, storm debris, saturated soil, hidden wires, and waterlogged yards can make familiar paths unsafe. Photograph only from firm ground you can reach without stepping over debris, passing beneath a hanging limb, approaching a leaning tree, or entering floodwater. If you cannot find a safe viewpoint, stop and describe the blocked view instead. Photos are optional evidence, not a reason to approach a hazard.
Before taking pictures, check from a protected location for immediate dangers: a tree or limb touching a power line, a blocked occupied exit, or a fresh major movement toward a building. Treat every line as energized. Keep people away and contact the utility or emergency services as appropriate; do not approach, move debris, or try to photograph the contact closely. A qualified tree professional can assess tree conditions, and utility personnel must address electrical hazards. Do not climb, cut, pull, or stabilize storm-damaged wood yourself.

Build the Wide-Angle Overview
Take one or more wide views that show the whole tree, its surroundings, and the nearest affected structure, if these are visible from a safe place. Include enough ground and sky to convey the tree’s lean, canopy spread, and relation to a roof, fence, driveway, or neighboring trees. A single tight image of a broken branch rarely explains the site. Use a normal camera view rather than an extreme zoom or panorama that can distort distances and angles.
Stand at an existing safe vantage point, such as a clear part of a driveway or a publicly accessible sidewalk, and keep your feet in the same safe area while framing different views. If a building blocks the view, take separate photos from other safe locations rather than crossing a damaged yard. A view through a window can help document what is visible from indoors, but glare, screens, or reflections may obscure detail. Note those limits when sharing the images.
Three useful photo views without taking unnecessary risks
A useful estimate photo set has three different jobs. A wide view shows the affected tree, fixed property landmarks and where people or equipment normally enter; a middle-distance view identifies which limb or trunk appears involved; and a separate safe view shows the proposed hauling or access route. A close-up is optional and must never require standing beneath damaged wood, crossing a barrier or entering a potential fall zone. Include a brief description of the change rather than drawing a conclusion about stability.
The examples on this page are generated planning illustrations, not records of real customers or verified storm conditions. Label your own photographs with the date and location; if an older image exists, make clear that it is a comparison, not the current condition. Tell the estimator if other trades, vehicles or tenants need the same entrance. Never put gate codes, faces, license plates or household security details in public images. Photos help frame the question; an on-site assessment determines the work.

Create a useful photo packet without creating another hazard
Start with a wide photograph placing the tree within its driveway, street or building context. From another safe position, capture the visibly affected area without walking beneath hanging branches. Note when the picture was taken, the direction of view and what changed after the storm. Images should support factual descriptions, not attempt to prove hidden damage from a distance. Stay clear of wires, unstable trunks and cordoned areas even if a closer photograph seems more compelling.
Group estimate photographs into an overview, a visible concern and an access view. Add a short statement about the desired outcome, distinguishing immediate hazard containment from removal, hauling, stump grinding and later repairs. Keep original images for potential property or insurance documentation, and avoid editing away surrounding context. A tree-service estimate is not an insurance-coverage decision or a substitute for a building assessment.
Take useful estimate photographs without entering a hazard zone
A useful photo set starts with a wide view showing the tree in relation to the house, street or driveway, followed by detail views only when they can be taken from an already safe location. Include any visible roof contact, blocked gate, fence damage or debris staging area, and label separate trees instead of sending an unidentified series of close-ups.
A photograph cannot determine whether a limb is energized, whether a trunk is stable or what hidden roots look like. Never climb, touch downed lines, stand beneath hung branches or step into floodwater for a better angle. Send the property address, preferred callback method and the specific outcome sought along with the images. The contractor may still need a visit to confirm access, rigging and scope.
Build an estimate photo packet without approaching unstable wood
Begin with a plain description of the decision requested: urgent hazard review, removal estimate, debris hauling or coordination with a repair trade. From safe ground, show the whole tree, nearby targets, the base where visible and the proposed equipment route. A photograph cannot certify safety. If reaching the best angle would require going beneath hanging wood, crossing a downed line or climbing on a roof, omit that image and explain the limitation.
Label multiple trees consistently. A simple numbered sketch can show which tree is closest to the garage, which branch touches a fence and where the driveway begins. Avoid guessing at species or diagnosing hidden structural damage from a picture. Use natural reference objects for scale instead of asking someone to stand beneath unstable material. Remove unrelated license plates and household details from submitted images where practical.

Wide context and labeled viewpoints outperform risky close-ups
Distinguish observed contact from a conclusion. Report that a branch rests on shingles rather than claiming roof framing failed unless a qualified professional has confirmed it. Photograph a side access route only from a safe area and share known gate dimensions, soft soil or overhead obstacles. Mention pools, irrigation, septic features and neighboring property access. A preliminary remote estimate may still require an in-person inspection before selecting a method.
Finish the packet with desired debris handling, stump preferences, any access that must remain open and a contact who can authorize work. Keep private contact data in the form, not in the filenames. When the tree moves or the weather changes, send an updated note from a safe location. The value of good documentation is clarity for the contractor, not a false promise that enough photographs replace professional assessment.
Show the Structural Contact Context
If a tree or limb appears to touch a house, garage, shed, fence, or other structure, photograph the relationship from a safe distance. Include the contact point only if it is clearly visible without walking beneath the tree, leaning over a damaged edge, or entering a compromised building area. A wider frame can show which side of the structure is involved; a separate closer frame from the same safe location may clarify the visible contact.
Describe what you can actually see: for example, a branch resting on a roof edge, a trunk against a fence, or debris beside a wall. Do not infer hidden roof damage, internal cracking, or whether a tree is stable from a photograph. Tell the estimator if the contact seems to have changed, whether water is entering, or whether access is blocked. Ask what further inspection is needed and whether it requires a qualified tree professional, a building specialist, or utility involvement.

Make a Safe Access-Route Record
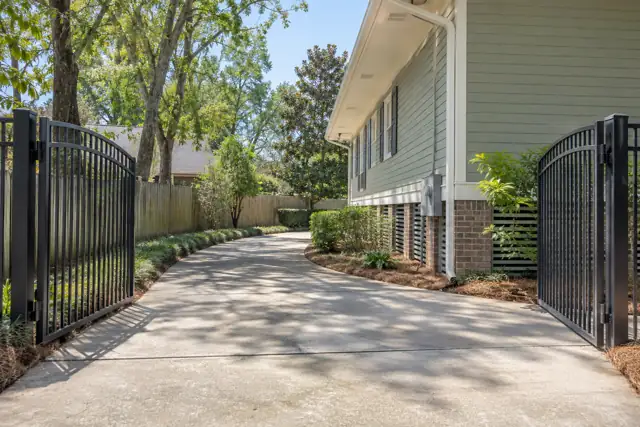
Photograph the approach that an estimator or crew might use, but only from a route that is open and safe for you. A view from the street can show a gate, driveway entrance, bridge, narrow side passage, or visible obstruction. Do not push through a blocked path to prove it is blocked. If standing water, fallen wire, unstable fencing, or hanging debris interrupts access, stop before that point and take the picture from a clear location.
Add a short note with the images identifying known access constraints: locked gates, soft ground, limited vehicle turning space, or an area that residents cannot safely pass. Distinguish what you observed from what you are unsure about. A route that was passable before the storm may now be undermined or covered by debris. Ask the estimator what access information is useful and whether a site visit should wait for utility clearance or other qualified assessment.
After-storm photos have a stricter safety boundary than routine estimate pictures
A normal tree-estimate photo set often begins with a full canopy, trunk base and nearby structures. After a storm, those same views may be unsafe to obtain: a branch can be supported by another limb, root movement can continue in saturated ground, and fallen conductors can be hidden under debris.
Stay outside the potential fall area and document only from a location already safe to occupy. A clear description of the obstruction may be more useful than an additional close-up if moving toward it creates exposure.
Use this storm-specific guide when damage, changed lean, uprooting, impact with a structure or blocked access is the problem. The ordinary photo-checklist article is for planning routine tree estimates and understanding useful camera angles. Neither is an emergency-dispatch confirmation or a diagnosis from images alone. If a tree is on a building or electrical equipment is involved, contact appropriate emergency or utility services first. When contacting Tree Huggers, state the immediate risk, whether the location is accessible and which pictures were taken safely.
Separate and Label Multiple Trees
When several trees are affected, make the set easy to follow. Give each tree a simple location label, such as “front-left,” “rear by the detached garage,” or “east fence line,” and use that label consistently in filenames or a written list. Begin each tree’s group with a wide view that identifies its location, then add safe views of visible damage. Avoid labels based only on species unless you know the species; location is often clearer to people unfamiliar with the property.
If two trees overlap in the frame, take separate views from safe ground when possible and explain which trunk or canopy you mean. A sketch made indoors or from a clear area can help connect labels to the site, but do not enter a hazard zone to improve it. Mention if a tree is on a property boundary or if ownership is uncertain. The estimate process may require coordination with a neighbor or property representative; photos do not establish ownership or permission.

Record Visible Damage Without Approaching
Photograph broken limbs, hanging branches, split-looking unions, exposed roots, or a changed lean only when those features are visible from a safe viewpoint. Use a wide image first so a reviewer can locate the feature, then a closer image only if it can be framed without moving toward the tree. A digital zoom can produce a soft image, so include context rather than relying on a magnified detail that appears detached from its location.
Use neutral descriptions in your notes: “large limb appears separated above the driveway” is more useful than declaring a tree safe, doomed, or certain to fall. A photograph cannot reveal every crack, concealed defect, root condition, or load on a damaged limb. Do not stand beneath a canopy to inspect or place a person nearby for scale. Ask the qualified assessor which visible conditions need an on-site evaluation and whether any area should remain restricted meanwhile.
Document Conditions as They Change
Storm sites can change between the first photograph and an estimate visit. Rain can soften soil, wind can move a hanging limb, and rising water can cover a previously visible route. If conditions change, take a new picture only from a location that remains safe; do not return to a hazard simply to match an earlier angle. Keep the earlier image rather than replacing it, and note the approximate sequence of events.
Tell the estimator when a view was made and what changed afterward, such as additional rainfall, a new obstruction, or a limb dropping. Separate direct observation from reports by others. If an immediate hazard develops, prioritize keeping people clear and contacting the appropriate utility, emergency service, or qualified professional; documentation can wait. Avoid directing occupants or workers to inspect from beneath damaged trees, and do not assume that a tree remains unchanged because it looked stable in an earlier image.

Show Scale Without Touching Wood
A photo needs a familiar reference to communicate size, but never place a ruler, tape, person, vehicle, or household object against a damaged tree or limb. Use features already present in the scene, such as a standard doorway, fence section, parked vehicle, or roof edge, if they are visible from a safe position. Keep the reference and the damage in the same frame when possible, and state if perspective makes their relative size uncertain.
Do not climb onto a vehicle, roof, wall, or debris pile to improve the angle. Avoid asking someone to stand beneath a canopy or beside a leaning trunk; a person is not a safe measuring device. If no reliable reference is visible, give an approximate description in words only when you can do so honestly, and label it as an estimate. Let the assessor make measurements using appropriate methods during a safe, authorized evaluation.
Protect Privacy and Share Images Deliberately
Before sending photos, check the frame for faces, children, license plates, house numbers, security devices, and neighbors’ private areas. Crop or obscure details that are not needed to understand the tree, while keeping an unaltered original if you may need to document the scene. Do not enter a neighbor’s property or photograph through private windows to obtain a better view. Share images only with people who have a legitimate role in assessing or managing the reported work.
Use a secure channel supplied by the estimator or property manager when available, and confirm who will receive the files. Avoid posting identifiable storm damage publicly with an address or details about when occupants are away. If location data is embedded in the images, consider whether sharing it is necessary. Redaction should not hide damage or alter the apparent condition; if you crop, mark that a crop was made and retain the original for accurate context.
Keep Dates, Limits, and the Next Decision Clear
Preserve original files when practical, because a camera’s timestamp and image sequence can help organize a record. Do not change a date to make a photograph appear newer or older. If the device clock was wrong, say so and provide the best honest estimate of when the image was taken. Name files with neutral labels such as location and date, and send a brief index explaining which views belong to each tree.
In your message, list what the photographs show, what they cannot show, and any access or electrical concerns already reported. Ask whether the images are enough to plan an estimate visit, what safe access is required, and whether the site should first be cleared by the utility or evaluated by a qualified specialist. Photos do not certify safety, determine insurance coverage, or replace an inspection. Make the next decision from current site conditions and professional guidance, not from a reassuring-looking image.
Build an estimate photo packet without risky close-ups
The most useful after-storm images answer different questions rather than repeating five nearly identical views of a broken branch. From a safe location, start with a wide property view that locates the tree relative to the house or outbuilding. Add a separate view of any visible structural contact and, only if accessible without entering a hazard zone, show the gate or driveway that could govern equipment entry.
If the requested detail is hidden, say so. A missing photograph is safer than trying to expose a hung limb or step near unstable soil.
When uploading, describe which picture shows the full tree, which shows the affected target and which shows the access path. Note approximate gate width only if it can be measured safely. Do not include residents, license plates, medical information or private documents in the background. Photos support an initial conversation; they cannot establish internal decay, roof strength, energized-line status or a firm job price. The educational images used in this guide do not depict a real customer's claim or a complete site inspection.
Site-specific information to include with your request
- Photo one: entire tree and surrounding targets from beyond the possible fall zone.
- Photo two: visible impact and its context, without approaching the point of contact.
- Photo three: unobstructed safe access or a written explanation of why the access route could not be photographed.
A useful three-angle photo record for a tree estimate
A good after-storm request is organized around context, the observed condition and access. Three safely taken photographs often answer more practical questions than a dozen close-ups with no landmarks. Preserve the original files if you may need to document changes later; do not edit images to exaggerate damage.
- Context: show the whole tree and the property feature that could be affected, from a safe distance.
- Condition: use zoom to show visible cracking, displaced soil, hanging wood or debris only when it can be seen without approaching.
- Access: show a gate, driveway, parked obstacles or the proposed equipment approach.
- Add short notes explaining what changed, when it was noticed, and what result you want from the inquiry.
Do not include unnecessary faces, license plates, account numbers or private documents in the frame. An uploaded photograph does not verify tree stability or establish a guaranteed quote. Use the existing request form for the files, then ask the contractor what further assessment is needed.
Questions about this project
Which photos should I text first?
Send a wide tree view, the base if safely visible, nearby targets and the equipment route. Add the address, desired work and any recent change. Identify each tree clearly if the request involves several.
Can photos confirm that a damaged tree is stable?
No. Photographs may omit defects, support conditions and other important details. Use them to prepare for the contractor's assessment, and avoid entering hazardous areas to obtain a better view.
Should I wait for a form reply about a dangerous tree?
For an urgent condition, call to discuss availability and the next step. A form does not confirm dispatch. Keep clear, and contact emergency services or the utility when there is immediate danger or an electrical hazard.
Does emergency work always include full cleanup?
The initial authorized work may focus on stabilization or restoring access. Ask what is included and what follow-up removal, hauling or repairs need a separate scope. Confirm the plan directly with the contractor.
Can a tree contractor guarantee insurance will pay?
Coverage is determined by the policy, claim facts and insurer. Ask the insurer what records it needs, and keep the tree contractor's work scope and invoice clear. Do not treat a price estimate as coverage approval.
Should tree removal and building repairs be listed separately?
Clear records should distinguish the activities and responsible providers. Stabilization, removal, hauling, stump work and repairs may have separate scopes. Follow the insurer's documentation requests without assuming every item is treated identically.
How should extra work be approved?
Use the agreed approval process and identify the change, reason, scope, price or schedule effect as applicable. Confirm who has authority before treating an additional tree or task as part of the original job.
What completion records are useful?
Keep the agreed scope, tree or area identification, authorized changes, invoice and labeled photos where appropriate. Include unresolved items and a contact. Contract-specific records should follow the buyer's stated requirements.
How should several storm-damaged trees be described?
Use marked photos or a simple tree list showing locations, affected targets and access problems. Identify urgent routes or buildings separately from later cleanup. The contractor can then discuss assessment and a practical work sequence.
Can restoration be handled in phases?
Yes, when the parties agree on clear scopes. Initial hazard or access work, planned removal, hauling and building or landscape repairs may involve different stages and providers. Record the responsibilities and completion requirements for each.
What should I tell Tree Huggers about after-storm tree photos for an estimate?
Explain the property address, the work you want and the specific concerns: safe viewpoint, structural contact, access route. Send safe photos of the tree, surroundings and access route. The contractor can then discuss the assessment and scope needed for this situation.
How do I request an estimate for this work?
Call 504-458-8336, text photos or use the estimate form on this page. Include the address, desired outcome and any timing constraints. The company will need to review scope and availability; an online request does not confirm a price, appointment or emergency dispatch.
Get a scope for your property
For a storm tree estimate, take photographs only from a safe location. A useful set includes a wide view showing the whole tree, another showing what it contacts, a distant view of the trunk base and a view of the usable access route. If wires, hanging wood or unstable structures block the view, describe that limitation instead of moving closer. State whether you need emergency access clearing, removal, debris hauling or a later repair handoff.