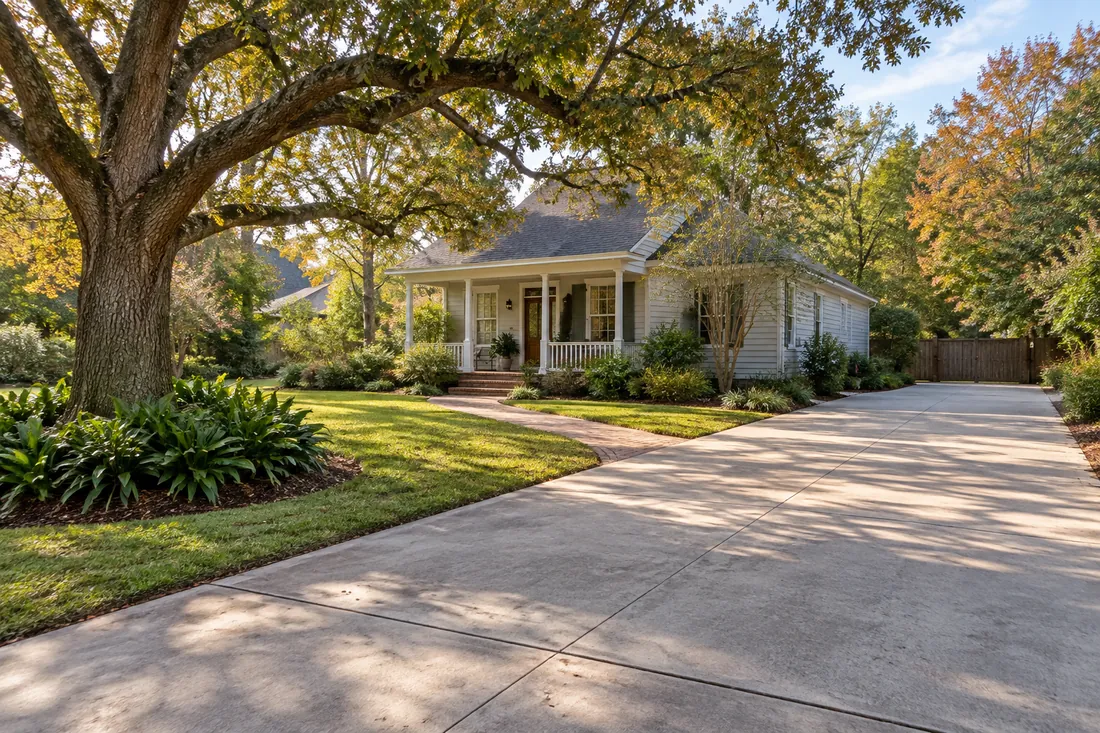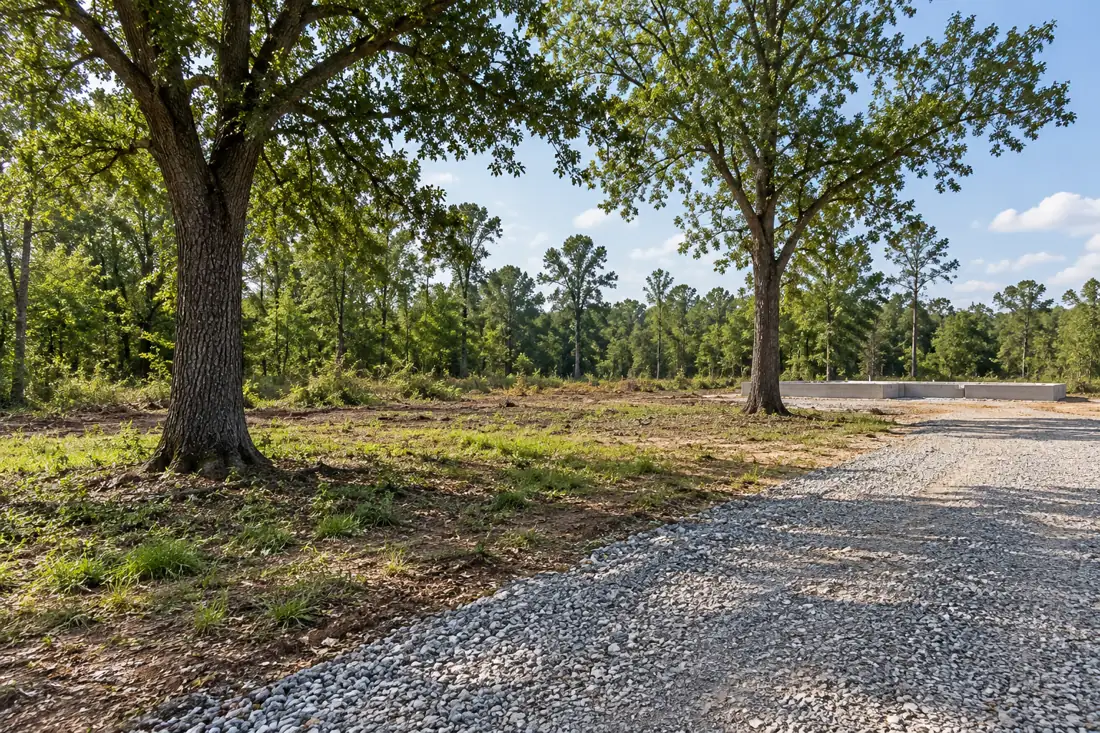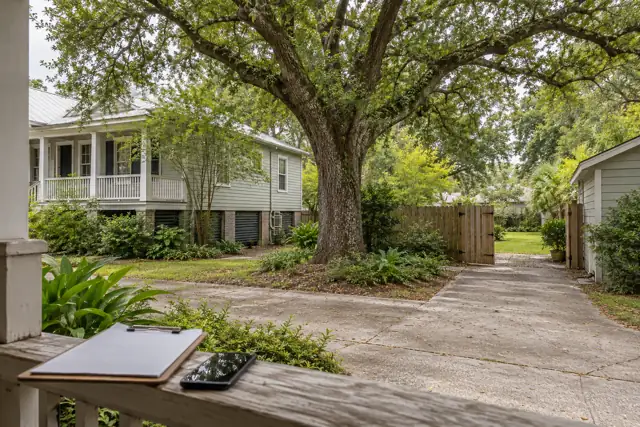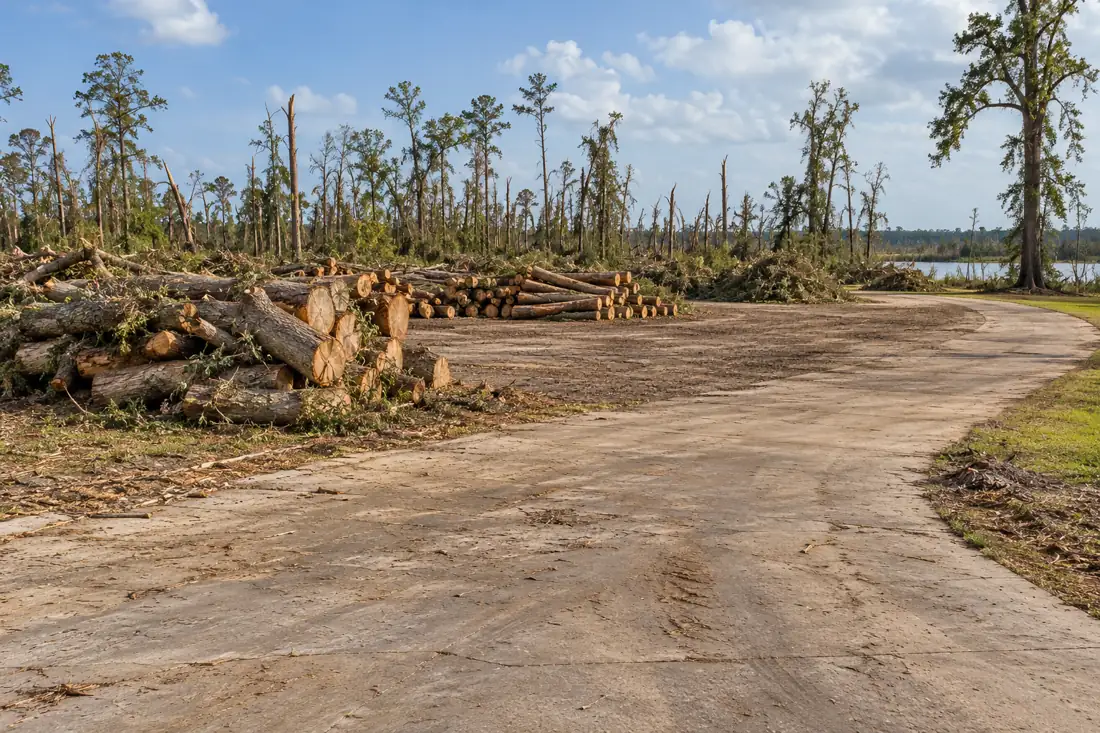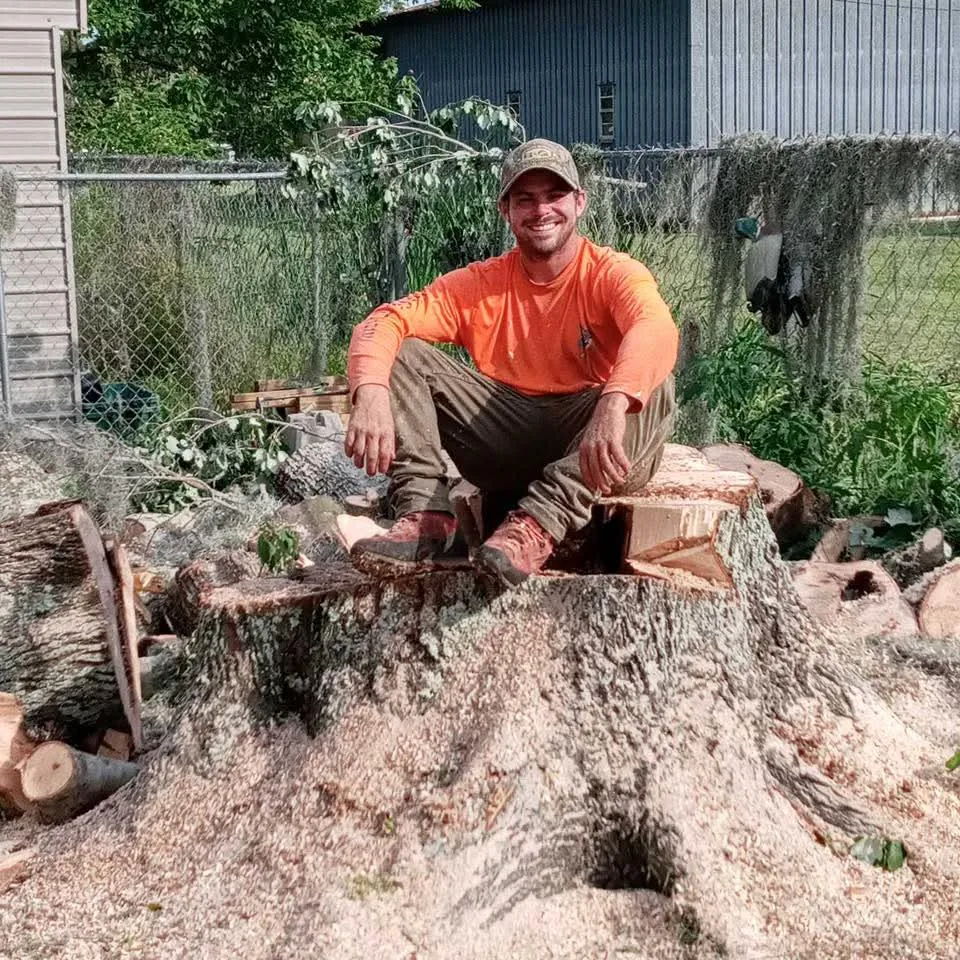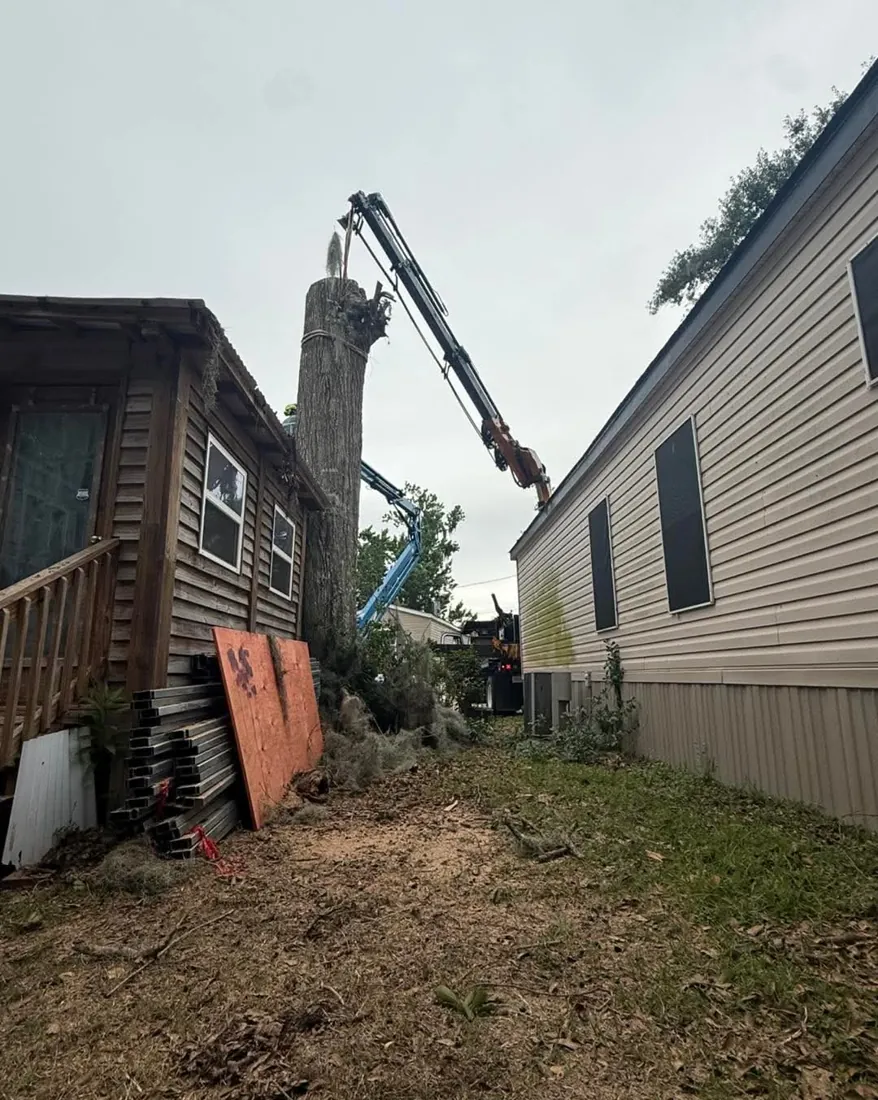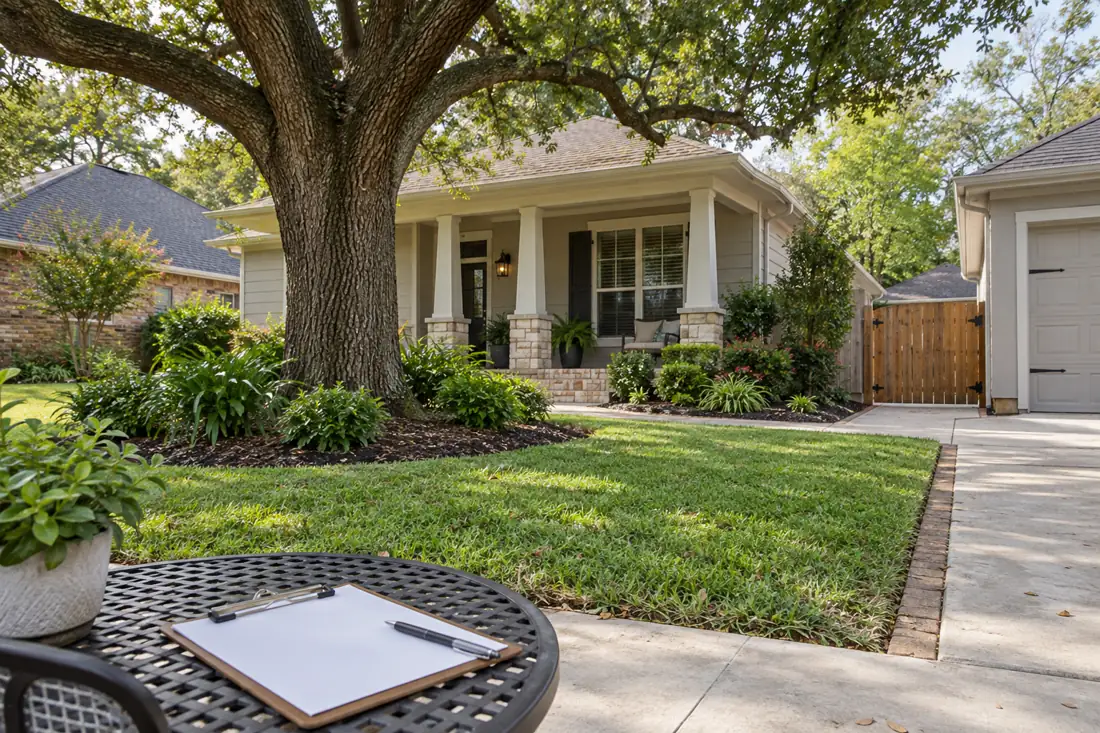
The best estimate photos connect the tree to the property. Show the whole tree, trunk base, nearby targets and the route equipment would take. Include the address, desired outcome and whether the condition recently changed. Take photos only from a safe position; an incomplete safe photo is better than entering a hazardous area.
Know when a routine estimate-photo checklist no longer applies
The usual estimate set explains the whole tree, the concern, the access route and the areas that must be protected. That checklist assumes each view can be taken without entering a hazardous area. A newly leaning tree, a hanging broken limb, wires or a tree resting on a structure changes the boundary: do not move closer to complete the set or use a ladder for a better angle.
For those conditions, use the after-storm photo guidance and describe what you can observe from safety. Photos can support an initial discussion, but they do not diagnose structural stability, reserve a visit or establish a final price. A written description without images is preferable to an unsafe photograph.
Site-specific planning checkpoint: For a tree-service estimate, one safely taken wide photo showing the entire tree and nearby structures often answers more questions than several close-ups of bark. Add a separate overview of gate access, driveway slope, nearby vehicles and overhead obstructions, with a note identifying the requested service. Explain whether the inquiry concerns removal, pruning, storm damage, hauling or stump work. Avoid entering a drop zone, touching unstable wood or approaching electrical lines to obtain a better angle. The photo-intake route should not require identifying details beyond those needed for a response, and images should not be passed to analytics as personal information. A photograph cannot establish hidden root condition, safe rigging points or a binding price. A qualified site review may still be necessary.
Send an estimate set that explains the problem without guessing the diagnosis
Begin with a wide photo showing the complete tree, its relationship to the building or yard, and a clear view of the route from the street. Follow with a closer image of the particular concern: a hanging branch, visible broken wood, lifting pavement, a stump, or the portion of canopy you want assessed.
Include a separate approach photo for gates, driveways, fences, wires, and nearby vehicles. Stand on safe ground; never climb, touch an energized line, or enter a damaged tree's fall area to get a better picture.
Add a brief text description of the decision you need: removal estimate, pruning assessment, stump grinding, storm-debris pickup, or an in-person inspection of an uncertain condition. Describe when you first noticed the issue, whether the area is currently accessible, and whether a neighboring owner or association controls any part of the tree. Do not claim an image establishes that a tree is diseased or structurally safe. Where there is an immediate hazard, prioritize distance and appropriate emergency contacts over photography.
Photographs help a company decide what information is missing, but they cannot guarantee a final price or safe work method. Ask whether a site visit, additional measurements, utility coordination, or an arborist's assessment is needed. Send only images and contact information you are comfortable sharing through the authorized estimate form. Avoid private documents, unrelated faces, or sensitive security details. Keep an original copy of your pictures if you may need them for an insurer or property manager.
Read the related preparing your property for a tree crew guide · Review public-sector tree-work services

Make each estimate photograph answer a different question
Send a wide photograph first so a contractor can identify the tree, fixed structures and the normal route into the property. A second view can show the branch, trunk or stump that prompted the request, taken only from a safe distance. A third can show access width and obstacles without making anyone stand beneath damaged wood.
Include the date and a short note about changes after rain or wind. Avoid uploading faces, license plates, gate codes or private documents; these are unnecessary to assess a typical tree-service inquiry. Photographs support the first conversation, but they cannot replace an on-site assessment of concealed defects or ground conditions.
Use wide views before close-ups: Good estimate photographs show a tree’s setting before they show dramatic detail. From a safe distance, include the full trunk, major limbs and nearby buildings or service lines in separate frames; one zoomed-in defect cannot show equipment access. Add pictures of side gates, driveway width, ground slope, fences and the route between street and tree. If there is a hanging limb, uprooted root plate or leaning trunk, stay well outside the possible fall area and photograph only from a secure location.
Start with one photograph that explains the whole tree
Begin at a safe distance where the entire tree fits in the frame, including the trunk base and the upper canopy. The estimator needs to understand its relationship to buildings, roads, other trees, and the spaces people use. A close-up of a branch without context is rarely enough to recognize which tree is involved or whether the proposed work can be approached from a practical location. Step back rather than squeezing into a dangerous position to make the picture more dramatic.
If there are several trees, identify each in a separate wide shot and give it a temporary description such as “large oak beside the back gate.” Do not rely on camera numbering alone because gallery applications may reorder photos. The point is to create a reliable visual map of the property, not an artistic portrait. Add one photograph facing toward the house and another looking away if that helps establish the tree’s footprint.
Photograph the concern without trying to prove a diagnosis
For deadwood, show the branch within the canopy, then a closer ground-level view of its location. For a crack or a split union, photograph the visible feature from the safest available vantage point. For a fallen tree, show the material and what it is resting against before anyone moves it. A picture can show a concern, but a phone image is not a structural assessment and cannot establish that a damaged tree is stable.
Avoid climbing, shaking limbs, pulling vines, moving debris, or standing under a visibly compromised section for a better angle. If a tree is touching energized equipment or utility conductors, keep away and contact the appropriate utility or emergency service. A poor photograph is better than a dangerous one; explain in a short note why an area could not be photographed safely. A contractor can decide whether a visit or specialized coordination is necessary.
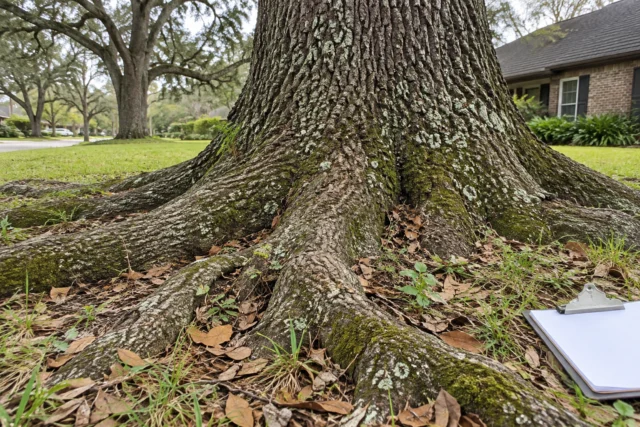
Show access from the street all the way to the work area
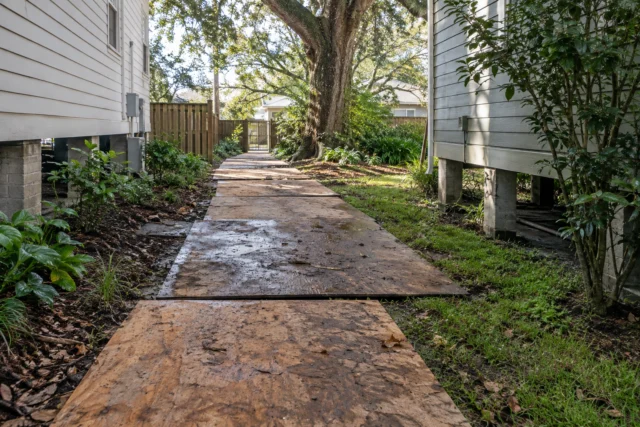
Take a photograph of the driveway entrance, gates, side passages, and any turn or slope where equipment could encounter restrictions. Include the width of a narrow gate only if it can be measured safely without moving items or entering the hazard area. A large tree may be accessible through a straight path, while a smaller one behind a building may require more labor-intensive handling. Photos of the access route help distinguish those jobs before an estimator visits.
Also identify overhead wires, low eaves, fences, garden structures, soft ground, septic or drainage areas, and paving that could need protection. Do not photograph private neighbors through windows or share unrelated household records. When the work is behind a business, show any delivery entrance that must remain usable. The aim is to reduce surprises about where workers and material might move without promising a particular machine or method.
Include the places where material could land or be staged
The canopy is only one part of the site. A service provider must account for the controlled work zone, where brush or logs might be handled, and how they leave the property. Show nearby roofs, vehicles, pool fencing, patios, landscaping, signs, sidewalks, and other fixed features. A wide photograph from each accessible side can reveal constraints that disappear in close-ups. If an area is used by children or customers, explain when it normally has the most traffic.
Photograph the probable hauling route and any place where debris might temporarily sit, but do not assume those locations are approved. The contractor still needs to establish safe working limits and confirm what can be moved. If there is no obvious staging space, say so rather than suggesting that limbs could simply be dropped. A written scope should clarify cleanup, hauling, wood retention, and final access conditions.
Do not climb, pull branches, probe a tree or move utility lines for a better picture. When sending an inquiry, identify which tree each image depicts, the work being considered and any known access restrictions. A written note about pets, vehicles, gates or prior work can be more useful than ten nearly identical angles.
Photographs support a preliminary conversation; they do not establish a diagnosis, exact quote or permission to enter property. Keep addresses and contact details in the native inquiry form rather than embedding them in publicly shareable image captions.
Sending Safe, Useful Photos for a Tree Estimate
A useful photo set answers three different questions: which tree is involved, what concerns you and how a crew might safely reach it. Take one wide photograph that includes the whole tree and landmarks such as the house, fence or driveway. Do not rely on a tight close-up of a branch, especially when multiple trees overlap. The full-tree view helps prevent a mix-up in the scope even though it cannot establish a diagnosis.
Label the request so the photographs answer the right question
In your message, state whether the request concerns removal, selective pruning, storm damage, stump grinding, an evaluation, or a combination. Name the affected tree and the outcome sought. “Keep branches clear of the roof before replacement” is more actionable than “trim it back,” and “remove the stump so a fence can be installed” means something different from cutting a trunk flush with the ground. Photos support that instruction; they do not replace it.
If you are uncertain which service is appropriate, describe the observation instead of choosing a method in advance. A sudden lean, a newly exposed root plate, or a crack following a storm should be treated differently from a routine clearance request. The service provider may need a site visit before identifying a safe approach or preparing a firm written estimate. Avoid requesting a guaranteed price from photographs alone when access and condition remain unknown.
For the concern itself, photograph only what you can see safely from the ground or another ordinary access location. Cracks, hanging limbs and recent ground movement may require professional evaluation rather than a photo-only quote. Avoid standing beneath visibly damaged limbs or entering storm debris to get a clearer view. State when the problem was noticed and whether conditions have changed without claiming to know the cause.

Show context, concern and access separately
Access photographs should show the driveway, gate width, turning space, overhead obstructions and the path toward the work area. If a fence or gate is locked, describe the available access instead of transmitting private entry codes in a public form. Mark buried irrigation, private wires and fragile surfaces in your notes. The estimator may still need an onsite review before suggesting a method or confirming any scope.
Label each set when you have more than one tree. A simple description such as backyard tree near the shed is more reliable than sending ten unorganized images. Explain whether you want removal, pruning, stump treatment or an inspection. Images can start the conversation but do not guarantee a final price or a response time. Preserve a safe, accurate record and allow the qualified contractor to confirm site conditions.
Organize multiple trees and multiple images clearly
For a property with several trees, use a simple sequence: an overall yard view, Tree A wide view, Tree A concern, Tree A access, then repeat for Tree B. Include landmarks visible from outside, such as a detached garage or walkway, rather than naming trees only by species when identification is uncertain. A small sketch can accompany the photographs when many trunks overlap. Keep the original files available so the estimator can zoom without relying on blurry screenshots.

Four useful views without entering the hazard area
For an estimate, send one wide view showing the whole tree and nearby structures, one closer view of the concern taken from a safe position, one image of the access gate or driveway, and one image showing the area where branches or equipment would need room. The final two views often explain price and feasibility better than a zoomed photograph of an isolated crack. Label which tree is pictured when several trees look similar.
Do not stand under hanging limbs, touch downed wires, climb a ladder or enter storm debris to improve a photograph. Explain what you observed rather than diagnosing rot, lightning, root failure or an electrical hazard from appearance alone. If an image includes a neighbor's private space, crop unnecessary personal details before sending; the estimate request needs work context, not unrelated personal information.
A photo checklist helps explain a tree; the upload form sends the inquiry
This educational guide explains why a useful estimate set usually has several views: the whole tree, the trunk base, the nearby property features, and the route a crew could use. One close-up of discolored bark rarely explains the overall task. Do not photograph from a roof, ladder, road, unstable ground or within reach of a damaged suspended branch.
Photos can help describe the situation, but they do not establish diagnosis, pricing, structural safety or actual appointment availability. Write the question you need answered along with the view.
When ready to contact the company, use the actual secure inquiry and photo-intake page rather than treating this article as a message submission. Its native form asks for a service and project details and allows optional pictures. Keep personal details in that form, not in public comments or analytics events.
If the problem involves storm damage, tell the company about access, nearby conductors and possible contact with a building before attempting more images. The photo guide remains useful whether the eventual outcome is pruning, removal, stump work or an in-person evaluation.
Make the estimate photo set answer four distinct questions
Four nearly identical closeups of a damaged branch rarely explain how equipment would reach it. Start with a broad view that relates the tree to the building, driveway and available standing area. Add a separate view of the concern, taken only from a safe position, then show the normal access route and any boundary or utility constraint that affects the requested service.
A photo request is a conversation starter. It cannot authorize entry, confirm the final crew method or substitute for an inspection where one is needed.

Capture four different questions instead of four similar close-ups
A useful estimate packet usually starts with a wide view of the complete tree and its surroundings, followed by the specific concern, the route equipment could take, and any nearby surfaces that need protection. Photograph only from stable owner-authorized ground; move farther away rather than enter an unstable tree's drop zone. Show the gate opening, slope or narrow driveway if access affects the method. Do not include house numbers, license plates or unrelated people unless genuinely needed and authorized.
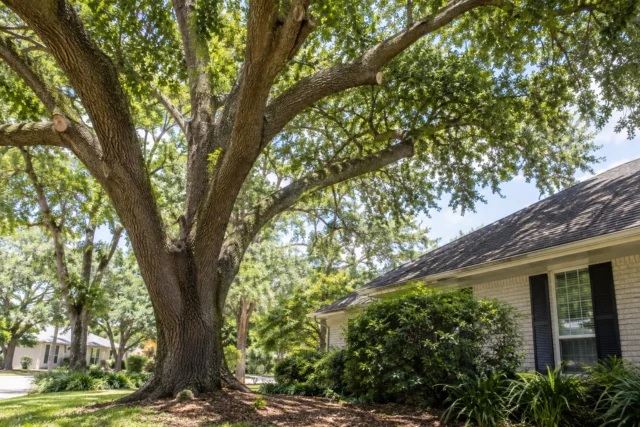
Describe the desired finished condition in words: cut and haul, prune for a defined objective, grind a stump, retain chips, or restore an area for future work. Note recent changes and known utilities without pretending to diagnose tree condition from an image. The company can use the packet to scope a conversation, but it is not a guaranteed price, appointment or safety determination. The planning image is illustrative and is not a customer-submitted photograph.
A residential customer usually does not need to send dozens of nearly identical images. Select the few views that answer different planning questions. Commercial properties may benefit from a site plan showing parking areas and entrances alongside the photo set. If photographs were taken on different days, note that conditions may have changed. This organization helps a reviewer spot missing access information without confusing separate trees or scopes.
Share only necessary information and establish who can authorize work
Provide a workable contact method, the general service location, and any scheduling or access restriction relevant to a site visit. For an occupied property, let the contractor know whether someone can open a locked gate. For a rental or commercial site, identify the authorized decision-maker separately from the person who can provide access. Do not include identity documents, account numbers, children’s personal information, security codes, or photographs of private records in an estimate request.
If a neighbor’s property could be affected, explain that early without assuming permission to enter it. If the concern is from a public road, note the road or walkway involved rather than entering traffic to take a closer picture. Keep photo notes factual and avoid labeling unseen damage as confirmed. Tree Huggers’ native inquiry form provides a route to describe the job and provide requested photographs; an external analytics event is not a place to send their contents.
Use the photos to confirm the finished scope, not just the initial quote
Before approving work, compare the written scope with the photo set: which tree, which limbs, what material is removed, what remains, and whether stump, debris, or restoration tasks are included. Ask who handles vehicle movement, utility coordination, restricted access, and changes discovered on arrival. For pruning, the desired clearance and limits of acceptable cuts matter more than a vague promise to make the crown look neat. For removal, clarify wood, chips, logs, and cleanup.

Send four different views, not four versions of the same close-up
Good tree-estimate photos explain context, visible concern and access. A sequence with distinct views saves follow-up questions without encouraging unsafe photography.
- Show the setting: Begin with a wide photograph taken from a safe public or authorized position, showing which tree you mean and nearby buildings, fencing, lines or roads. Add the tree number or a simple description if several trees look alike.
- Show the concern: Take a second image of the visible issue only where the camera can reach without entering a fall zone or climbing. Describe what you observed and when, rather than asserting an unseen diagnosis. Never approach damaged conductors.
- Show the route: Include the driveway, gate, clearance restrictions and possible material exit path. A final photo can show a second access angle or a boundary that must remain protected. Remove unnecessary faces, plates and personal documents before sharing.
Write the requested outcome in one sentence: assess, prune, remove, grind or advise about visible damage. Photos support a conversation; they do not replace an on-site assessment when conditions require one.
After the work, use comparable safe ground-level photographs to document the agreed outcome if useful, especially where multiple trees or contractors are involved. Do not imply that a tidy yard proves a tree will remain safe forever or that images replace a qualified evaluation. A clear before-and-after record is primarily a communication aid: it helps the property owner, estimator, and crew agree on the same observable result. Use the estimate request to start that discussion.
Check that the upload actually communicates the concern
Before sending an estimate request, open the selected photos and make sure the tree is visible, the image orientation is correct, and the relevant access view has not been cropped away. Most customers can use ordinary phone photographs; professional equipment is unnecessary. Avoid filters, heavy annotations or screenshots that obscure branch attachment and scale.
If a file is too large or fails to upload, note the issue in the message rather than assuming the contractor received it. Keep the originals available if a different angle or higher-resolution view is requested.
A short written description should accompany the images: the tree's location, observed issue, desired result and whether anyone can safely provide access for a visit. Provide a working contact method through the native inquiry form and follow its photo-intake instructions. Do not place private personal details in image filenames or public captions. Photographs help begin the planning discussion, but they cannot replace an inspection where a condition, exact measurement or equipment route remains uncertain.
Create a Photo Packet That Answers the Estimator's First Questions
The most useful estimate photo packet is a small, organized set, not dozens of close-ups with no location context. Begin with a whole-property or street-side orientation view, then show each requested tree with a visible landmark. Include the trunk base, major branching and the concern from ground level only when those views can be obtained safely.
If a branch is hanging, a trunk is moving or wires are involved, stay out of the hazard area; do not approach, climb or use a ladder to obtain a better picture.
Label the photos with simple tree numbers and add a short note about the requested outcome: inspection, pruning, removal, stump grinding or storm debris. Show access restrictions such as gate width, parking, pools, fragile landscaping and where equipment could reasonably enter. A photo can help determine whether a site visit or specialist is needed, but it cannot prove structural soundness or give a dependable price without evaluating access and actual scope. Let the estimator know if images are older than the current condition.
- Send one context photo and two or three safe detail views per tree when practical.
- Number the trees consistently in both the request and the images.
- Identify access bottlenecks and neighboring property without entering restricted areas.
- Mention changed lean, newly exposed roots or hanging limbs as safety concerns, not diagnoses.
See the questions a complete site visit still needs to resolve
Questions about this project
Which photos should I text first?
Send a wide tree view, the base if safely visible, nearby targets and the equipment route. Add the address, desired work and any recent change. Identify each tree clearly if the request involves several.
Can photos confirm that a damaged tree is stable?
No. Photographs may omit defects, support conditions and other important details. Use them to prepare for the contractor's assessment, and avoid entering hazardous areas to obtain a better view.
What should I compare besides the price?
Compare tree identification, work objectives, access assumptions, hauling, stump treatment, site finish and exclusions. Ask whether permits or other coordination are part of the scope and who can approve changes if conditions differ.
Does an online request book the crew?
No. A request starts the estimate conversation. The company still needs to discuss scope, availability and any site assessment. For a dangerous or urgent condition, call 504-458-8336 rather than relying on a form response.
What access information helps an estimator?
Send the narrowest opening, overhead obstacles, turns and the distance between the tree and the loading area. Include photos of the entire route and identify steps, soft ground or features that must remain protected.
Should I remove a fence before the visit?
First ask the contractor to assess access and agree on any temporary opening. Identify who owns the fence, who can authorize the change and who will reinstall it. Do not assume the opening is necessary or included.
Is a free work estimate the same as a written risk assessment?
Not necessarily. Explain whether you need pricing, condition advice, a documented assessment or a combination. Ask what the visit includes, who provides it and what limitations apply to any findings or recommendations.
What history should I share?
Share known storm damage, prior failures, construction, root disturbance, flooding, pruning and recent changes. Include the timing and nearby property use. Useful history supports the evaluation without replacing inspection of the current tree and site.
Which property features should I point out?
Identify buildings, vehicles, fences, fixed fixtures, landscape features, utilities and occupied routes. Explain what can move and what must remain. Include existing damage and any buried features you know about along the access route.
Should people remain inside the work area?
The contractor and site contact should establish an exclusion area and access arrangements appropriate to the work. Keep children, pets, visitors and other workers outside the active zone until the responsible parties say it can reopen.
What should I tell Tree Huggers about tree service estimate photos: what to send?
Explain the property address, the work you want and the specific concerns: overall tree, access route, safe viewpoint. Send safe photos of the tree, surroundings and access route. The contractor can then discuss the assessment and scope needed for this situation.
How do I request an estimate for this work?
Call 504-458-8336, text photos or use the estimate form on this page. Include the address, desired outcome and any timing constraints. The company will need to review scope and availability; an online request does not confirm a price, appointment or emergency dispatch.
Get a scope for your property
Send a whole-tree view, a safe concern photo, an access view and the outcome you would like evaluated. A photograph does not establish stability or authorize work. Do not enter a damaged-tree fall zone for pictures.
Prefer an upload form to a text message? Send photos using the optional photo-intake form. A written description is still useful when photographs cannot be taken safely.